
Building a new home or renovating an existing one is the single best opportunity you’ll ever have to get your WiFi setup right. Walls are open, cables can be run cleanly, and equipment can be positioned optimally before everything is locked in. Miss this window, and you’ll be working around poor decisions for years.
At Brocky’s Internet Solutions, we help Sunshine Coast households plan and install home networks during builds and renovations every week. These are our most practical WiFi installation tips, based on what we see working and what we see causing problems for homeowners once construction is complete.
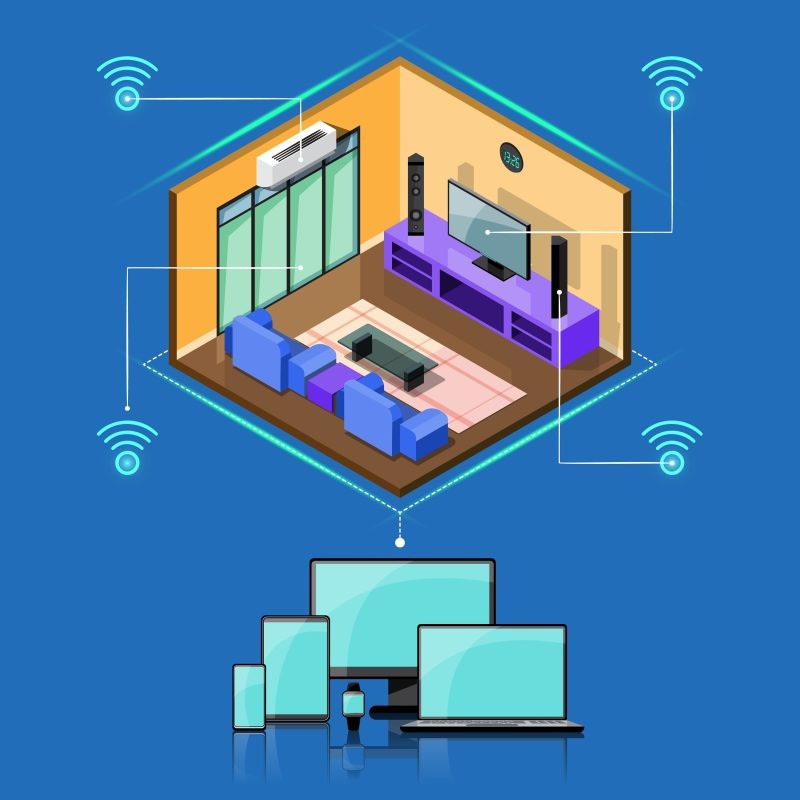
Why WiFi Planning Belongs at the Start of Your Build
Most homeowners think about WiFi after the electrician has finished, the walls are closed, and the furniture is in place. By then, the options are limited, the cost of changes is higher, and the results are often a compromise.
A well-designed home network needs both wired and wireless infrastructure planned together, covering every device and usage pattern your household actually has. Getting these decisions right during construction is significantly easier, and cheaper, than trying to fix them once the walls are sealed and the floors are laid
The layout decisions made during construction, where walls go, what materials are used, where power points are placed, all directly affect how your network performs for the life of the home.
10 WiFi Installation Tips Every Sunshine Coast Homeowner Should Follow
1. Choose a Central Location for Your Router During the Design Phase
The most impactful of all WiFi installation tips is router placement, and the time to plan it is before walls are built, not after. A router placed in a central, elevated position distributes signal more evenly throughout the home than one positioned at an end wall or inside a closed cabinet for aesthetic reasons.
Work with your builder or electrician to ensure a data point and power outlet are positioned in the most central accessible location in your floor plan, typically a main hallway, living area, or open study.
2. Plan Your Ethernet Cabling Before Walls Close
Running Ethernet cables once construction is complete is expensive, disruptive, and often results in visible surface runs rather than clean in-wall installation. During a build or renovation, cabling through walls costs a fraction of the price.
Plan Ethernet drops for:
- Home office or study desks
- Television and media areas
- Gaming setups
- Smart home hubs and security camera systems
- Any fixed location with high bandwidth demand
Wired connections remove high-demand devices from your wireless network entirely, improving WiFi performance for all your mobile devices.
3. Position Power Points for Network Equipment, Not Just Convenience
Builders place power points where they’re easy to install and aesthetically sensible. Network equipment needs power points where the hardware actually needs to be, which is often different. Add this to your WiFi installation tips checklist and specify data and power points at:
- Hallway mid-points for router or mesh node placement
- Top of stairwells for multi-storey coverage
- Open areas rather than enclosed spaces
- External weatherproof locations for outdoor coverage requirements
4. Account for Building Materials in Your Signal Planning
Queensland homes use a wide variety of building materials, and some of them are significantly more problematic for wireless signals than others. Concrete slabs, double brick, fibre cement sheeting, and metal framing all reduce WiFi signal strength noticeably.
During the design phase, identify which walls and floors are most likely to create signal barriers and plan access point or mesh node positions accordingly. This is particularly relevant for Sunshine Coast homes with two storeys, where a concrete floor slab between levels can significantly limit upstairs coverage from a ground-floor router.
5. Design for a Mesh System From the Start
If your home is larger than around 150 square metres, or has multiple storeys, a single router almost certainly won’t provide consistent coverage throughout. Planning for a mesh WiFi system from the start means positioning nodes correctly and ensuring power is available at each location.
Our blog on how to improve WiFi signal strength throughout your home covers mesh system placement principles in detail, well worth reading during the planning phase.
6. Keep Network Equipment Away From Interference Sources
Microwaves, cordless phones, baby monitors, and Bluetooth devices all operate on frequencies that overlap with WiFi, particularly the congested 2.4 GHz band. During a renovation, this is the right time to plan the position of kitchen appliances, laundry equipment, and smart home devices with network performance in mind.
NBN Co’s guidance on optimising your home WiFi setup covers interference sources and router selection factors that are directly relevant to new home network planning.
7. Plan for Outdoor Coverage During the Build
Many Sunshine Coast households want WiFi coverage in outdoor entertainment areas, around pools, in garages, or in granny flats. Adding weatherproof conduits and outdoor power points during construction makes outdoor access point installation straightforward. Trying to achieve the same result after the fact often means visible cable runs and compromise solutions.
8. Install a Network Cabinet or Patch Panel for Larger Homes
For homes with multiple Ethernet drops throughout, a central network cabinet or patch panel keeps all your cabling organised, accessible, and easy to manage. During a renovation or new build, this can be incorporated cleanly into a cupboard or utility space. This is one of the WiFi installation tips that pays dividends for the life of the home, particularly if you ever want to change router hardware or add additional network infrastructure.
9. Use the 5 GHz Band for High-Performance Areas
Modern routers and mesh systems broadcast on both 2.4 GHz and 5 GHz bands. When positioning access points during installation, consider which areas of your home need the fastest speeds and ensure those locations have access point coverage that allows devices to connect on the 5 GHz band reliably.
Home offices, gaming rooms, and home theatre setups all benefit from 5 GHz connectivity, which delivers faster speeds with lower latency than the 2.4 GHz band.
10. Test Your Network Coverage Before Construction Is Complete
Before flooring, cupboards, and fixtures are finalised, walk through every room with a phone and test your WiFi signal. It’s significantly easier to adjust access point positions, add additional data points, or reroute cabling while the site is still accessible. Once construction is complete, your options are limited.
When to Bring in a Professional
These WiFi installation tips cover the planning principles, but translating them into a properly configured, high-performing network is where professional help genuinely pays for itself. Getting router placement, Ethernet cabling, mesh node positioning, and network configuration right from the start avoids the troubleshooting calls that happen when shortcuts are taken.
For Nambour households specifically, our WiFi installation and repair service in Nambour provides local, fast-response network installation during builds and renovations.
See what other Sunshine Coast locals think of our work by reading what our customers say before you book.
Get Your New Home’s WiFi Right From Day One
A well-planned network built during construction is one of the best investments you can make in a new home. The team at Brocky’s Internet Solutions is ready to help Sunshine Coast households plan, install, and configure home networks that perform reliably from the moment you move in.
Visit us at 6/12 Newspaper Place, Maroochydore QLD 4558, call us on 1800 588 688 or text 0422 394 174, Monday to Friday between 8:30am and 4:00pm.Get in touch to book your new home WiFi consultation or get a no-obligation quote on any installation work.
FAQs
1. When is the best time to plan WiFi installation in a new home?
During the design and construction phase, before walls are closed. This is when Ethernet cabling can be run cleanly, power points can be positioned correctly, and access point locations can be optimised without compromising the finished result.
2. Do I need Ethernet cabling in a new home if I have good WiFi?
Ethernet is still the most reliable option for fixed, high-demand devices like smart TVs, gaming consoles, and desktop computers. Including Ethernet drops in your build gives you flexibility and removes high-bandwidth devices from your wireless network.
3. How many mesh nodes do I need for a new home?
Most homes up to around 200 square metres work well with two to three nodes. Larger homes, multi-storey properties, or homes with problematic building materials may need additional nodes for complete coverage.
4. Will building materials affect my WiFi signal in a new home?
Yes. Concrete, brick, metal framing, and fibre cement sheeting all reduce signal strength noticeably. Identifying these barriers during the design phase allows access point positions to be planned around them.
5. Can I add WiFi access points after construction is complete?
Yes, but it’s more complex and expensive than planning during the build. Surface cable runs are often needed, and positioning is limited by existing power point locations. Professional installation during construction delivers a cleaner and more effective result.


8 thoughts on “WiFi Installation Tips for New Homes and Renovations on the Sunshine Coast”
Comments are closed.